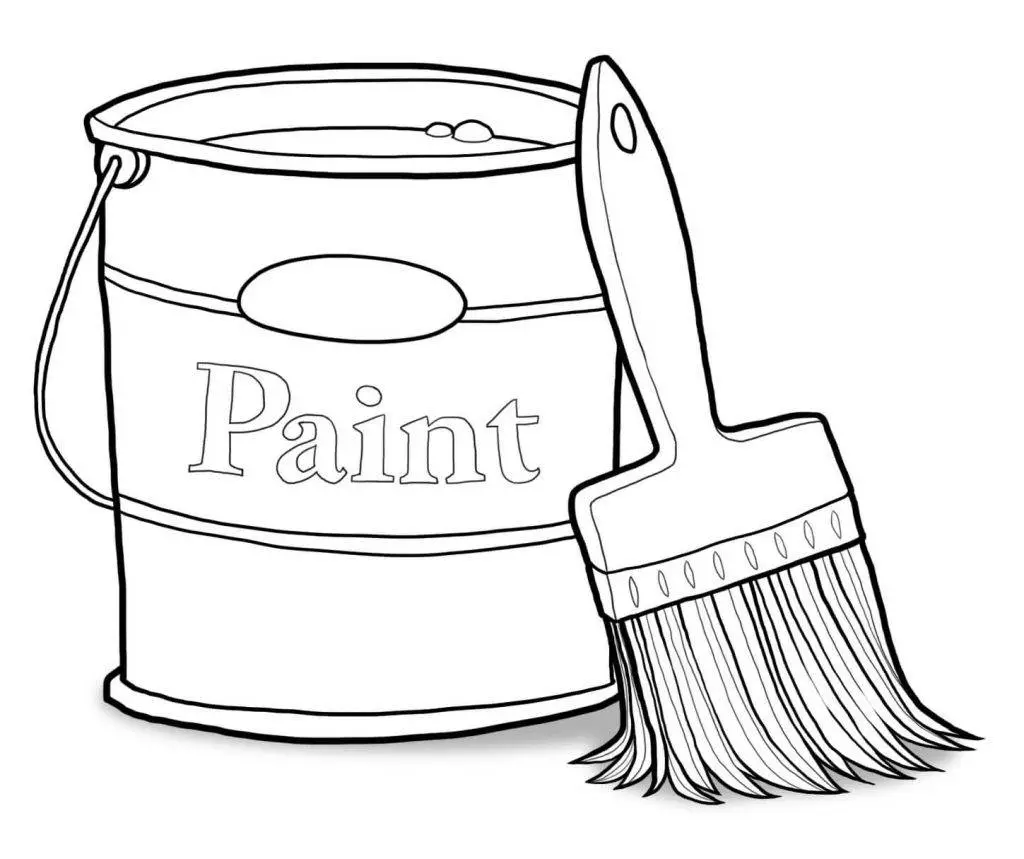
Have you ever thought of painting your sink? In this comprehensive guide, we will explain how to paint different types of sinks, namely, stainless steel, ceramics and porcelain sinks.
Different sinks come in many different colors. The most popular colors are white, black, and silver.
The original colors are durable, but homeowners may prefer a different sink color. This occurs mainly when the sink color doesn’t match the color of the surrounding.
Also Read: Best Bathroom Sink Materials and Pros & Cons of each
Can You Paint a Sink?
One can pain a sink if it is the best solution to make it more useable and attractive for aesthetic reasons. There is nothing that prevents a home user to paint a sink unless if the pain is not fitting the surface.
However, one should note that different sink materials and surfaces require different types of pain.
Amazingly, painting your sink is not a hard task. It’s an easy, straightforward project. All you need to transform your sink to a whole new look is to identify the color and style you want to use.
You don’t have to hire a professional painter to do the work for you. All you have to do is have a clean, dry sink, a quality paintbrush, and top-quality paint, and you are good to go.
Painting Stainless Steel Sinks
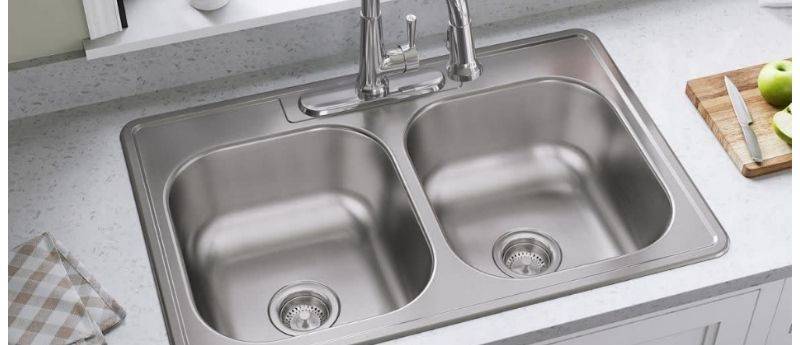
Stainless steel can be defined as low-carbon steel containing chromium with an added weight of 10.5% or more.
For more than half a century, Stainless steel sinks have effectively served people.
For their guaranteed durability and their resistance to dents and scratches they are widely used by homeowners
Stainless steel sinks have been used in works of culinary, architecture, and residential applications.
Types of Paint for Painting a Stainless Steel Sink
Has your stainless steel sink gotten rusty over time? Are you unimpressed by its distinctive grey look, and do you want a shiny and classy look? You can easily paint it if you feel that it is a necessity.
Stainless steel sinks need special preparation before painting. To dull the surface, the stainless steel can be wiped down using a tri-sodium phosphate compound.
The surface is sanded down to make it rough and ready to absorb the paint used. Explore more issues on how to
The following are the type of paints that you can use with stainless steel sinks:
- Automotive paint.
Its smoothness and even consistency make it perfect for your stainless steel sink. It is durable and comes with several color glosses that fit various finishes that you may want.
- Urethane paint.
This paint gives your sink a glossy look. It is durable because it combines strong polyurethanes with pigment, which dries up and leads to a hard finish. It is easily affordable. Its shiny look will also keep your sink looking fresh for long.
- Two-Part Epoxy paint.
It is a two-part process of epoxy and pigment that leads to a long-lasting finish. The epoxy element is the same one used to make super-glues. This makes it resilient and durable.
Read about our guide on the best sink paints to use when painting your sinks.
Also Read: 12 Best Portable Bathtubs: Safe for Adults, Kids and Seniors
How to Paint a Stainless Steel Sink
Requirements:
- Paint. (Usable with stainless steel sinks)
- Primer
- Paint sprayer
- Sandpaper.
- Trisodium phosphate cleaner.
The following are the steps you should follow when painting your sink:
1. Remove the Sink
Remove the sink if possible to make the process easier. Using a screwdriver, make sure that you remove the water supply and the faucet. Keep all the parts removed aside safely.
2. Prepare and Scuff the Sink
Stainless steel is a very hard metal. Hard metals do not take paint easily. You will need to spray your sink with trisodium phosphate liquid to wipe it down.
Make sure that all interior and exterior surfaces of the sink are sprayed with tri-sodium phosphate. This liquid will take away the natural shine of the stainless steel, which is okay because it creates a rougher surface.
When the sink has been in use for long and shows signs of wearing, the paint is likely to adhere to the rough surface, so there is no need to use the tri-sodium phosphate. New sinks must be sanded down before you start painting.
The above is achieved by using sandpaper. Scrape the sink carefully, making sure that you are not damaging the protective coating.
Clean the sink’s surface carefully and thoroughly to make sure that no dust or dirt is left. Specialized steel cleaners or degreasers would help you clean the sink better.
3. Prime the Surface
You should never apply your paint directly to the stainless steel surface. Coat your stainless steel sink with a primer before painting your sink. The primer will add bonding agents to the surface of your stainless steel sink.
Use a primer that is rated for stainless steel to get the best results. The primer can be sprayed or applied manually. Use a paintbrush when applying the primer manually, and make sure that you maintain uniformity.
If you are using a spray machine, make sure that you paint in one direction to make it look consistent. Leave the primer to dry up.
4. Apply the First Coat of your Paint
Apply the first layer of your paint after the primer dries completely.
Use a sprayer for a more professional appearance. Paint and roller brushes will also work.
You will need to paint long, even strokes that run in one direction when using paint and roller brushes.
Leave the coat to dry before continuing completely.
5. Scuff Again and Apply the Subsequent Coats
Rough up the surface of the sink again using sandpaper or steel wool. It sounds unusual, but this additional texture will make the final product durable.
After the surface is sanded up, apply the new coat of paint evenly to get that smart look you are looking for.
A minimum of two coats is required. If you need to add more coats, repeat the process.
6. Let the Sink Dry
Any paint that you purchase should have the time it takes to dry indicated on the manual. If you don’t find any specified time, wait for at least 24 hours. Plump the sink back to its position.
7. Apply Some Wax
Wax application is usually optional. You can apply wax over the area you painted to produce a hazy look. To get your desired look, use high-quality wax made for metalwork use.
The wax needs to be buffed with a dry cloth and sealed. Enjoy working on your painted sink once the wax dries up.
Guide to Painting Ceramic Sinks
Ceramic sinks are made of a mixture of glass, clay, and metal. These sinks are most common in bathrooms and perfect for kitchens because they do not absorb much water. Ceramic is smooth, hard, and sealed.
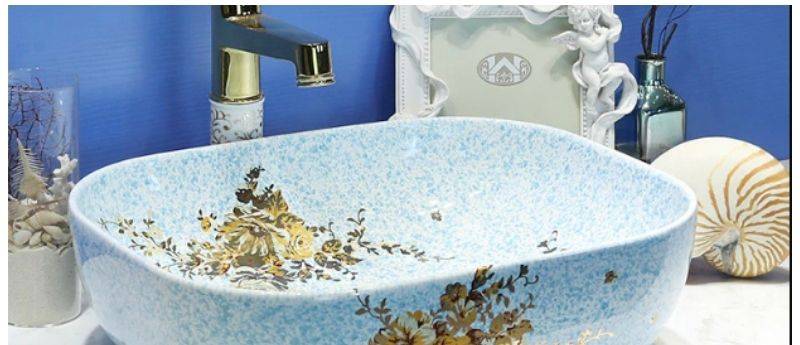
The surface of these sinks is very strong, resistant to chipping and scratching, making it suitable for everyday use.
They are easy to use and come in a variety of shapes.
The smooth, non-porous surface makes the sink easy to clean too.
Painting a Ceramic Sink
Just like stainless steel, you can also paint a ceramic sink. Though it lasts for many years, its surface will get weary over time. You can paint the sink instead of replacing it.
Consequently, it will help you save cash and restore your sink to its original, eye-catching look. All you will need to get is quality paint and prepare the sink’s surface before you start painting.
Also Read: Easily remove rust stains and yellow stains from your hot tub
How to Paint a Ceramic Sink

Things you will need;
- Epoxy-based paint.
- Old newspapers
- Primer
- Sandpaper
- Painter’s tape
- Rags
- Cleaning fluids.
To paint your ceramic sink, follow the following process:
Make sure there is proper ventilation before starting the process. Open the windows of the rooms you are working from. If there are fans, put them on.
Proper ventilation is important because the chemicals you will be working with can be very odorous and strong.
1. Clean and Dry the Sink
Use the cleaning fluid or rag to clean the sink thoroughly. You can use the very much recommended tri-sodium phosphate to clean the sink too.
Always wear a pair of gloves before handling the cleaner. Let the sink dry, and then wipe it out using a rag.
2. Sand the Sink Surface
Use sandpaper to sand up the entire surface of the sink. The purpose of sanding is to roughen it enough to hold the paint and prevent the paint from peeling eventually. Use dry rags to clean up the dust left behind.
3. Protect the Walls Near the Sink
Use old newspapers and painter’s tape to mask and cover any surface you do not want to paint.
4. Prime the Sink
Before this, take safety precautions by wearing your gloves and putting your respirator on. Use a spray primer to spray the entire sink surface.
Allow the primer to dry up. One hour is usually enough. It is not preferable to paint your sink with only one coat of primer. After the first coat dries up, add another.
Make the coats thin, thin coats are mostly preferred to a single thick coat. It would be best to allow the final coat to dry for at least 3 hours before moving to the next step.
5. Apply Several Saint Coats
Spray several thin coats of the epoxy paint on the already dry surface of the sink. Hold the sprayer 10 inches away from the sink as you spray.
Over-spray the first coat on the surface to avoid paint runs. Each coach should dry for at least an hour before the next is applied.
6. Finish with a Polyurethane Topcoat
Allow up to 8 hours for the final coat to dry up. Apply a polyurethane topcoat to the sink to give it a shiny surface. One coat is not enough. Wait for approximately an hour before applying the next or the final coat.
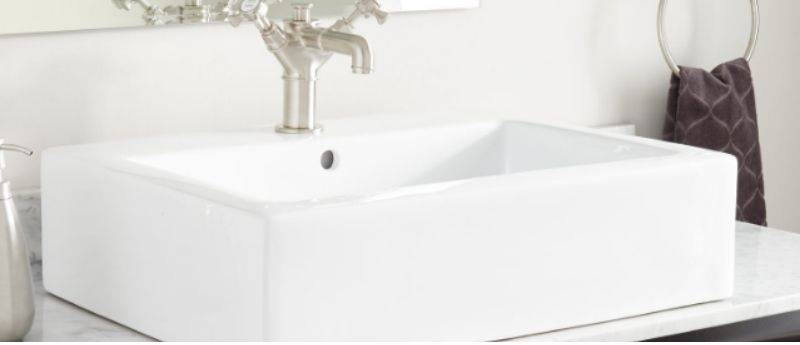
Guide to Painting Porcelain Sink
A porcelain sink is made of thick iron or steel coated in baked-on porcelain enamel. This property makes them very heavy. They are durable, providing you with 20-25 years of service.
If your porcelain sink is getting weary, painting it rather than replacing it is the best option. Painting a porcelain sink is very affordable and practical.
Check our guide on painting kitchen sinks porcelain sinks to get more insight.
All you need is to prepare yourself with all things you need and ensure that you protect the walls and floor of the room that the sink is in to avoid paint splatters and unsightly mishaps.
How to Paint a Porcelain Sink
Requirements:
- Spray gun
- Heat lamp.
- Household cleaners
- Protective gloves
- Acrylic urethane paint
- Sandpaper
- Bonding agents
- Car wax
- Auto compound
- Paper towels.
To paint your porcelain sink, follow the following process:
1. Clean the Sink
Use household cleaners to clean the surface of the sink. Avoid harsh abrasives that could scratch the old porcelain.
Dip a cloth in denatured alcohol and wipe the entire surface of the sink. The alcohol will help remove any residue leftover left by the cleaners. Let the sink dry up completely.
2. Apply the Bonding Agent
Wear gloves to protect your hands and cover the sink’s surface with a bonding agent designed for porcelain. Wipe the bonding agent using a rag.
Wiping enables the porcelain to adhere properly to the urethane paint. One coat of paint is sufficient to get the sink ready for painting.
3. Apply the Acrylic Urethane Enamel
Here you will need to protect your features and accessories. Mask off light features, plumbing, hardware, and accessories with painter’s tape and plastic sheeting. Put on your mask with a ventilator to avoid inhaling harmful chemicals.
Ventilate the house by opening the windows. Using a spray gun, you can now apply a coat of acrylic urethane enamel to the sink.
4. Apply the Paint
Across the entire surface of the porcelain sink, apply the enamel paint. Allow the first coat 15 minutes to dry up.
Add two more coats allowing each time to dry up. If it is possible, you can remove the sink and complete the painting outdoors.
5. Cure the Paint
To help cure the paint, place the heat lamp next to the porcelain sink for an hour. It’s okay if you don’t have a heat lamp. Just allow the sink enough time to dry.
If you want to create a shiny luster, sand up the sink to level out uneven patches. Use paper towels to remove dust.
Use a foam pad and auto compound to remove any extra scratches and hand buff the sink with car wax.
Also Read: Best Portable Whirlpool for Bathtub: with heaters for therapy
Can you Paint a Porcelain Sink a Different Color?
If you think that the color of your porcelain sink is outdated, you can change it. All you will need to do is reapply thin coats of enamel until the surface is completely covered.
Ensure you keep a small amount of paint on hand in case of the original paint beneath showing due to overcoat chips.

As a homeowner, I am specifically keen on home improvement. I am passionate about homes, yards, and home improvement. I blog on home ideas and reviews on solutions that make homes better.